Description
CRONY F6 Walkie Talkie Professional FM Transceiver Highlights: 16 channel Torch Light Battery Save VOX Function (Handsfree) Voice Prompt Time-out Timer PC Programming Emergency Alarm Intelligent Charging FRS, GMRS and UHF 50 CTCSS/105 CDCSS Li-ion battery long life Specifications: Frequency Range: UHF 400-470MHz Channel Capacity: 16 Channel Spacing: 25KHz Operated Voltage: 3.7 V Battery:1500MAh Li-ion Battery Life: Stand by 24 Hours (Voice 8 Hours) Frequency Stability: ±2.5ppm Operated Temperature: -30°c-+60°c Antenna Impedance: 50Ω Communication Range: 1~10 Km (Depend on the area condition) Transmitter RF Power Output Modulation 5W Spurious Emission FM Noise Audio Distortion Transmitting Current Walkie-talkie writing steps: Step 1: Install the frequency writing software and USB driver on the computer, and install according to the software prompts; Step 2: Insert the USB end of the writing frequency cable into the USB interface of the computer, and connect the other end to the accessory interface of the walkie-talkie; Step 3: Turn on the power switch of the walkie-talkie; Step 4: Click the desktop shortcut on the computer to open the writing software Step 5: Click ""Read Frequency"", select the communication port, click ""Confirm"" to read the default configuration of the walkie-talkie; Step 6: After the frequency reading is successful, modify the parameters that need to be configured on the frequency writing template, such as: sending and receiving frequency, contacts, etc.; Step 7: After the modification is completed, click Write frequency and wait for the walkie-talkie to restart and write frequency to complete; Step 8: Remove the radio frequency writing cable, and perform a functional test on the radio to confirm that the frequency writing is successful.
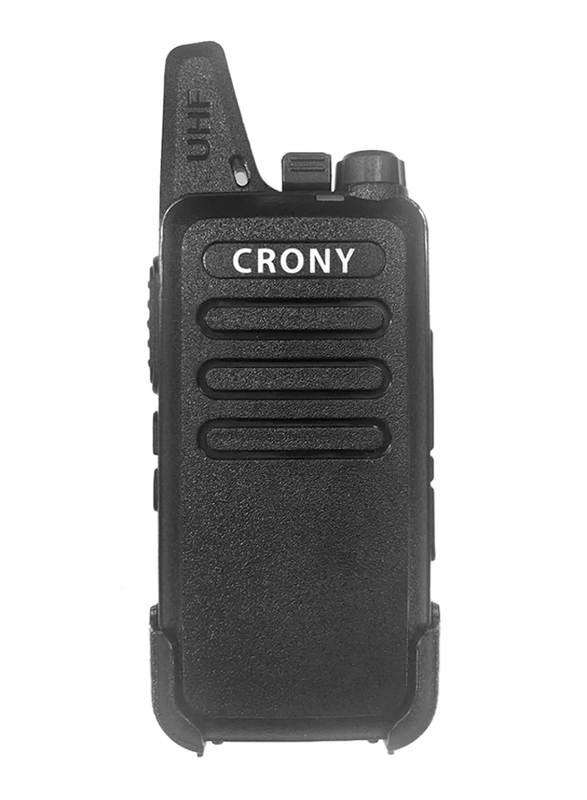
Photo